Using Chat conversations
After entering a Chat, users can ask questions in different conversations. The conversation list appears on the left, the current conversation appears in the center, and the message input box appears at the bottom.
A Chat can contain multiple conversations. Each conversation maintains its own context, while all conversations share the knowledge bases, model, system prompt, and retrieval parameters configured for the Chat.
Create and Manage conversations
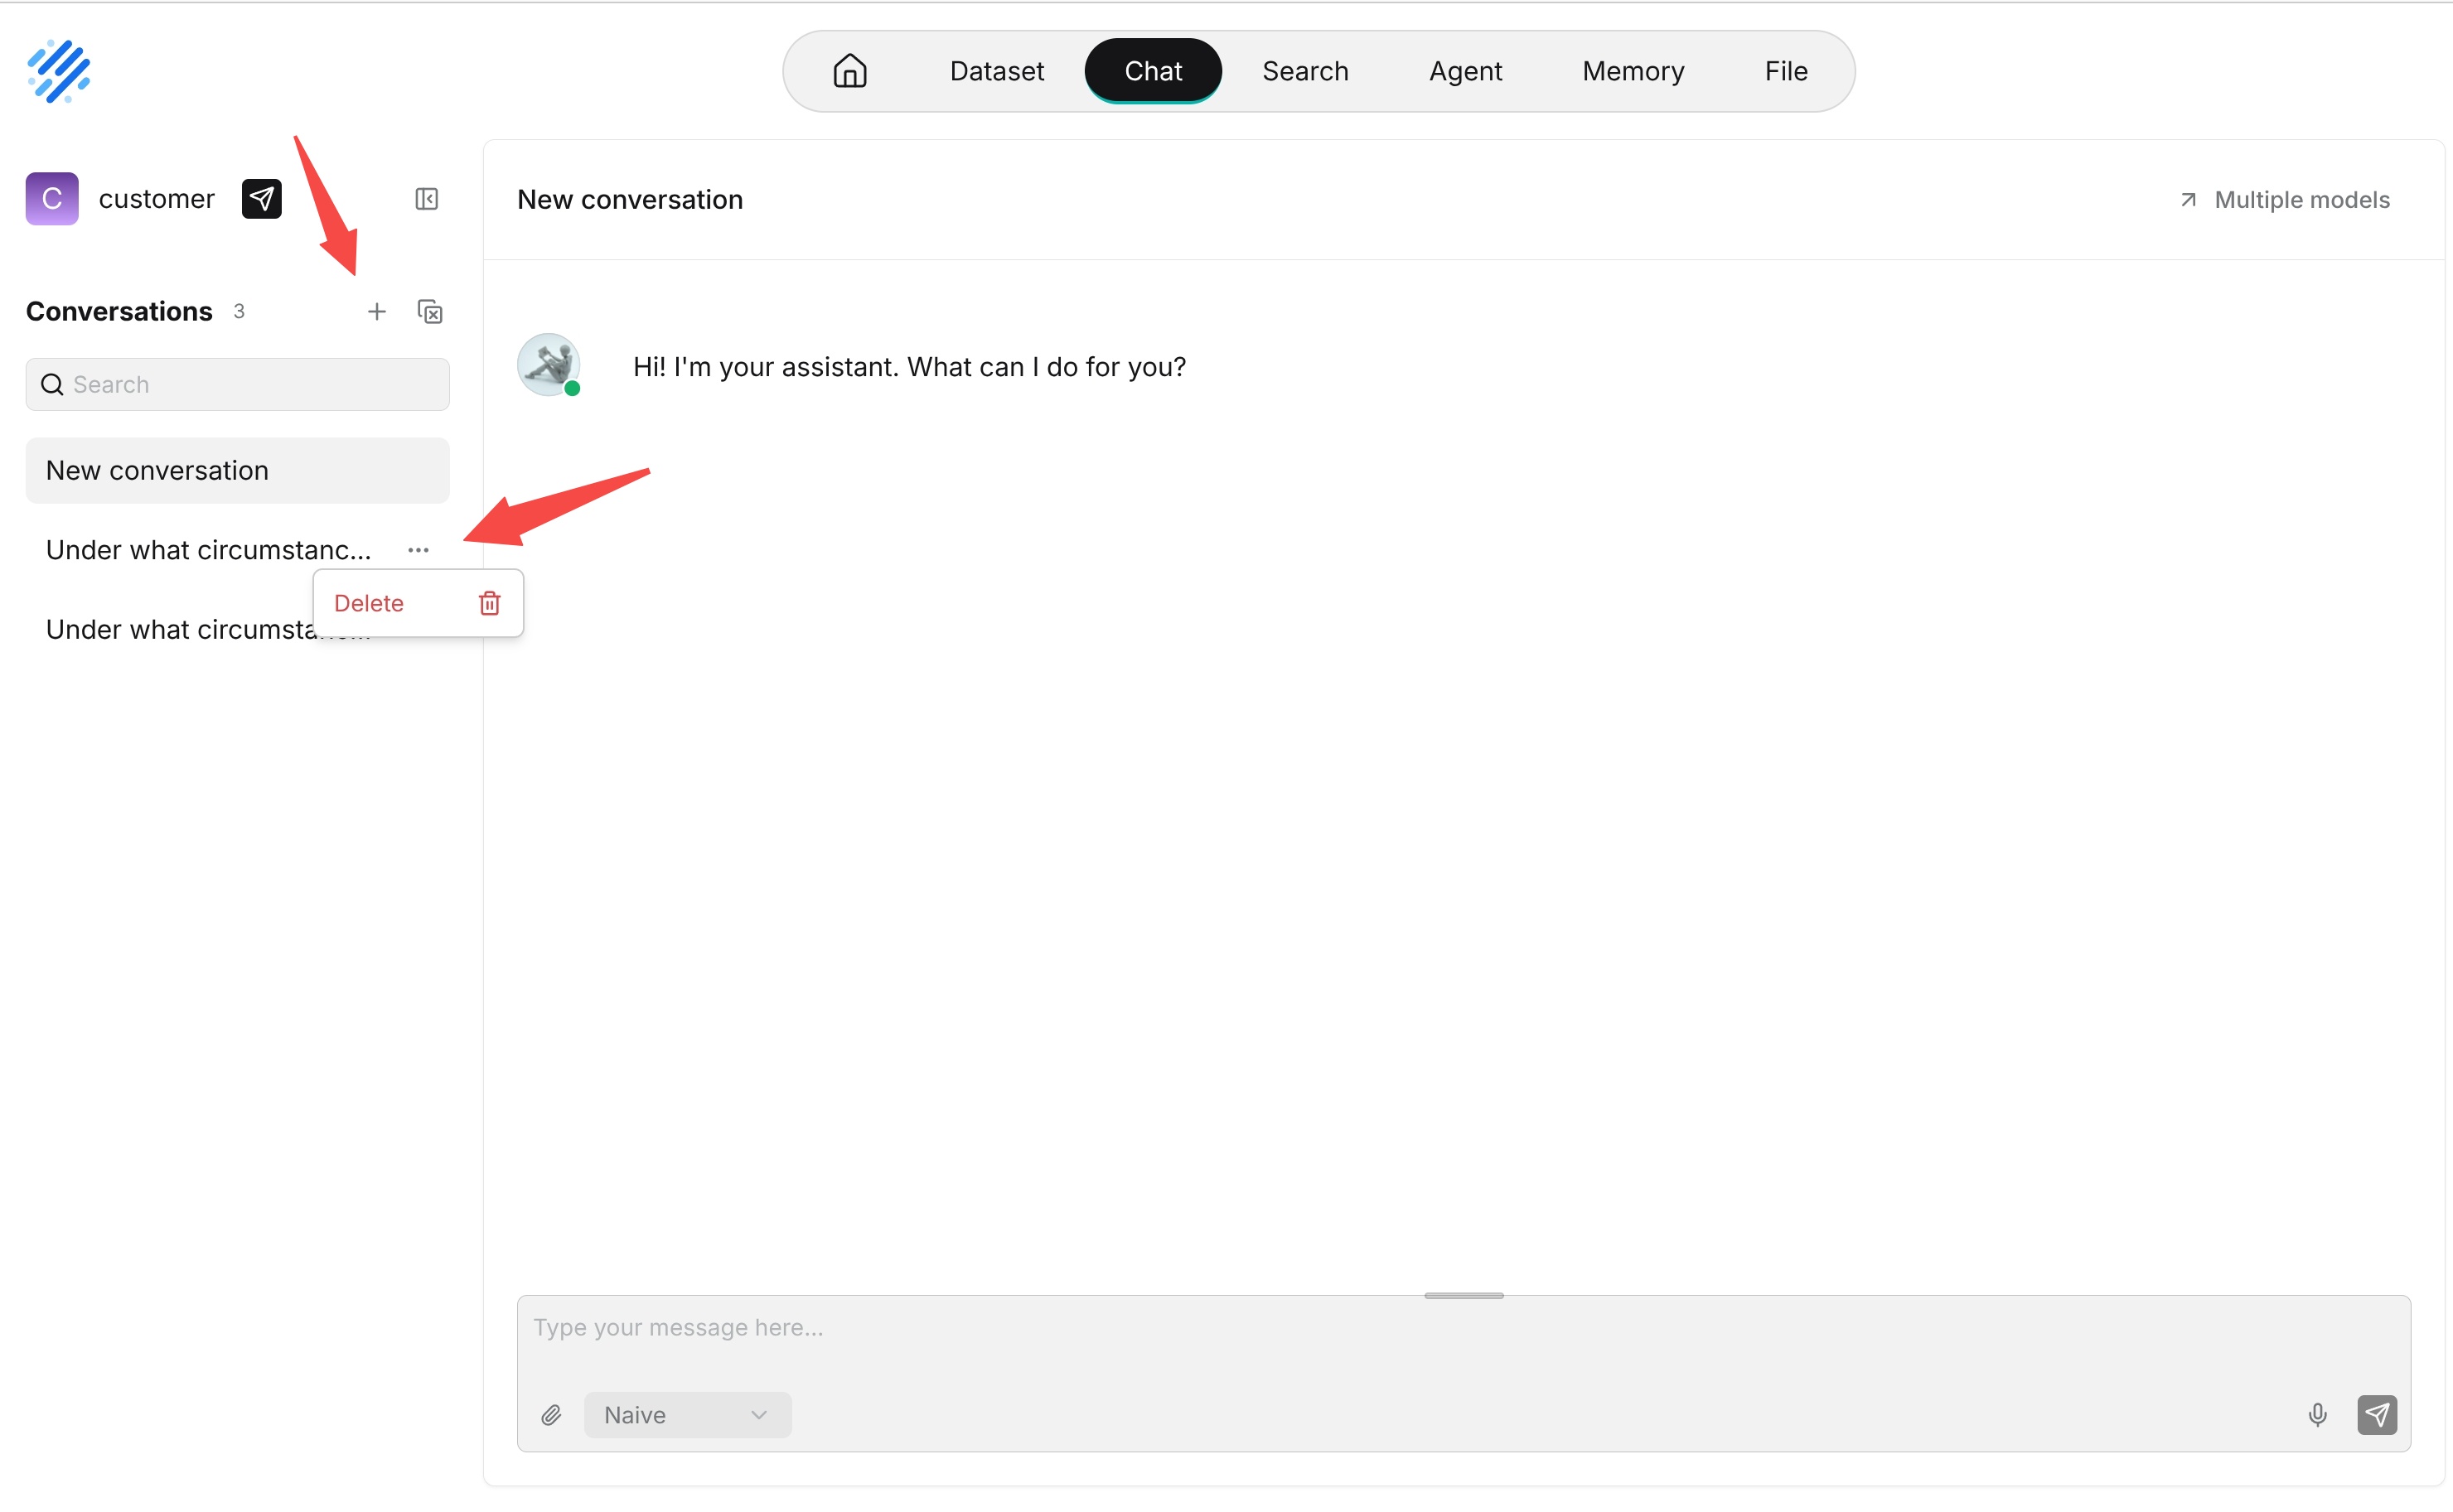
Click + in the conversation list to create a conversation. After you send the first message, the system generates a conversation name from the conversation.
You can perform the following conversation operations:
- Switch conversations: Click a conversation name to open its history and continue the conversation.
- Search conversations: Use the search box to filter existing conversations by name.
- Delete conversations: Use the More menu beside a conversation. You can also select multiple conversations and delete them together.
Use different conversations for different topics. For example, after discussing a product issue, create a new conversation before starting a completely different task so that the earlier context does not affect subsequent answers.
Send a Question
Enter a question in the message box and press Enter, or click Send. Press Shift+Enter to insert a line break.
While an answer is being generated, click Stop to interrupt it. Before sending a question, you can select a Thinking mode, enable or disable web search, and add attachments.
Chat generates an answer using the current conversation history together with the Chat's configured knowledge bases, model, and system prompt.
Upload Files
Click the paperclip icon in the message box, or drag files into the message box, to send files with your question as attachments. Uploaded files appear above the message box; remove any unnecessary files before sending.
Text files can be parsed into text for the model to reference. Processing images requires a model with multimodal capabilities.

Files uploaded in a conversation provide supplemental context only and are not automatically added to a knowledge base. To make a file permanently available for knowledge base retrieval, add it to a knowledge base and complete parsing.
The supported number, size, and types of files depend on the deployment and answer configuration. Follow the instructions displayed in the interface.
Use Voice Input
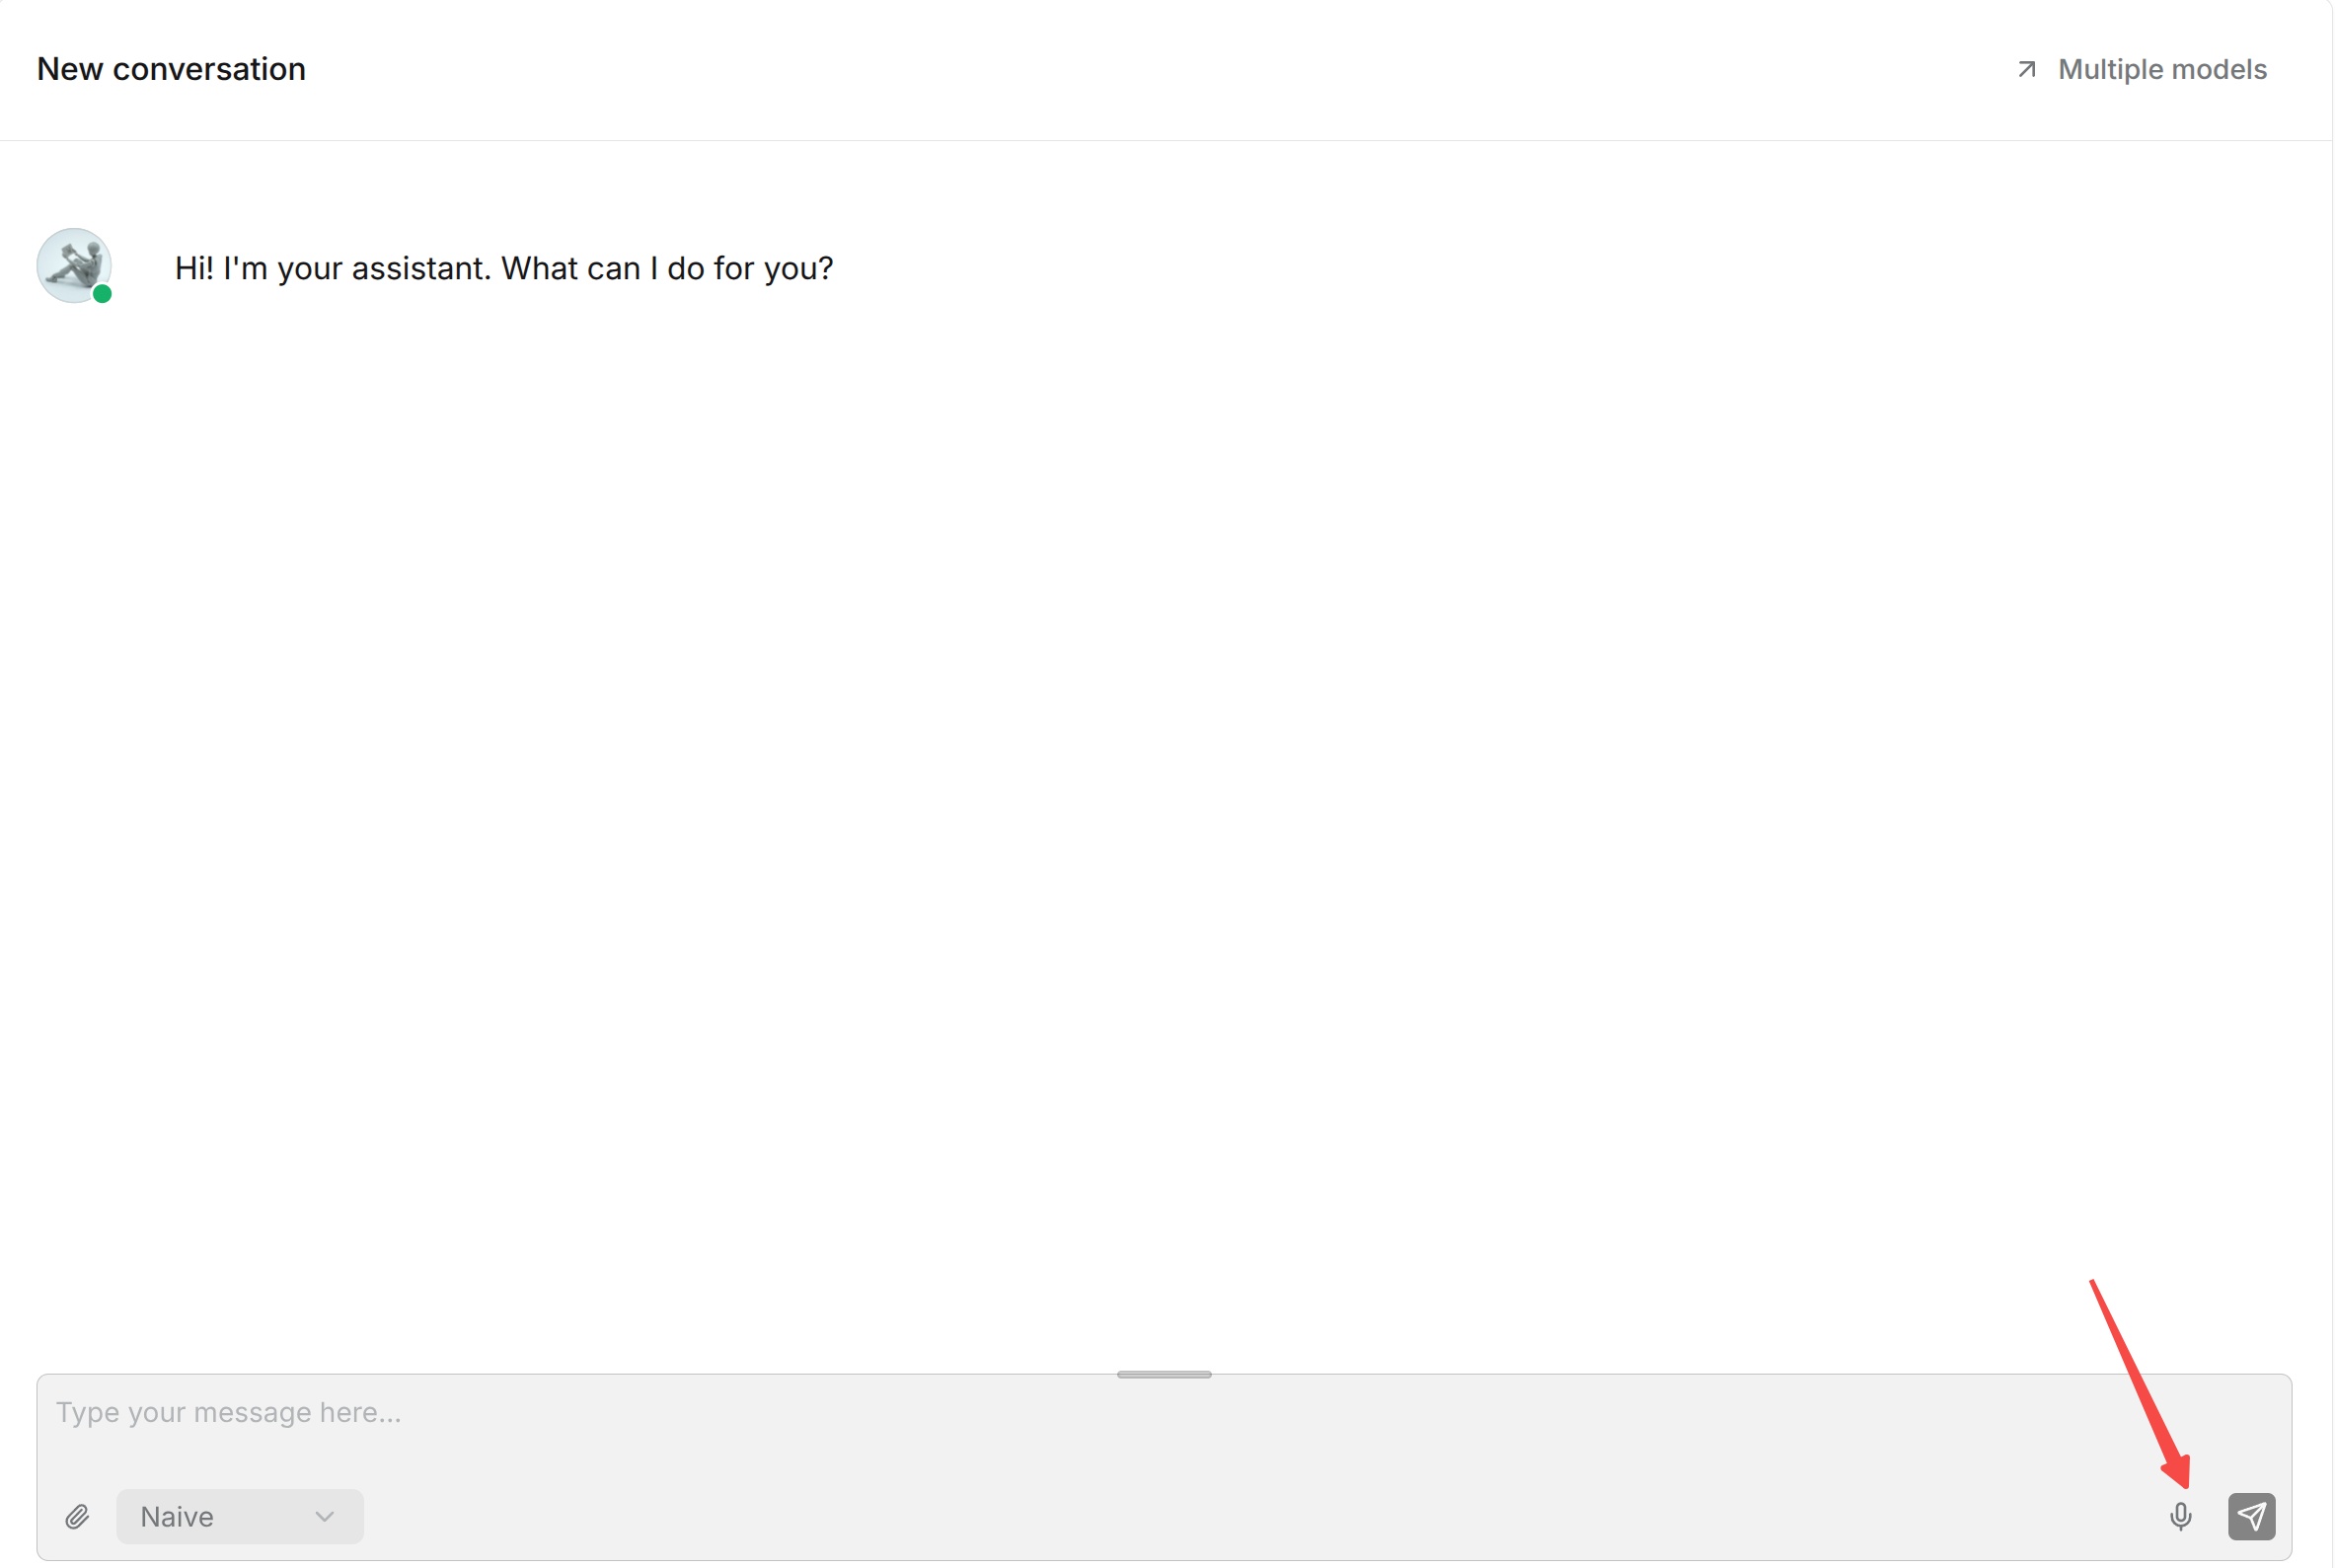
Click the microphone icon in the message box to start recording, then click it again to finish. The browser may request microphone permission the first time you use this feature.
After recording, the system converts the speech to text with the configured speech recognition model and sends it as a question.
Embed into a Website
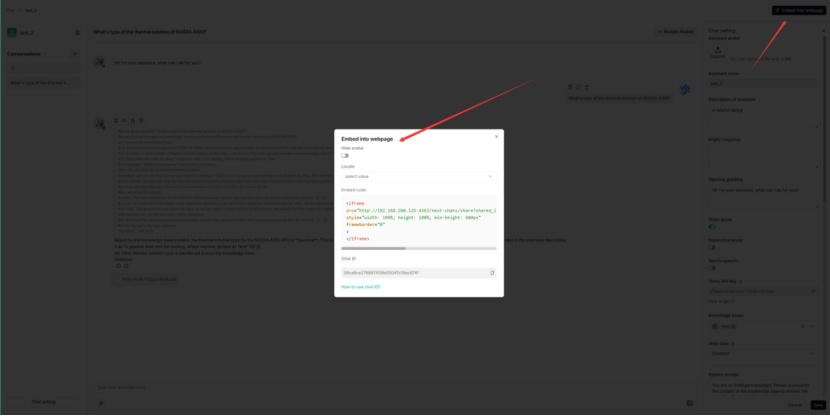
Click the paper-airplane icon next to the Chat name to open Embed into website. Use this configuration to integrate Chat into an external webpage or business system.
RAGFlow provides an HTTP API for integration:
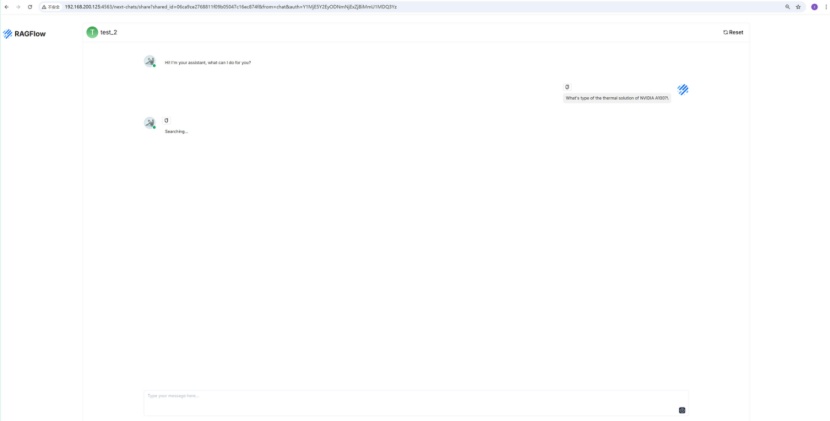
You can also embed the created Chat assistant in a third-party webpage with an iframe:
- Acquire an API key before continuing. Otherwise, an error occurs.
- Hover over the target Chat assistant and click Edit to open the iframe window.
- Copy the iframe code and embed it in your webpage.