Introduction to agents
Key concepts, basic operations, a quick view of the agent editor.
A new version is coming soon.
Key concepts
Agents and RAG are complementary techniques, each enhancing the other’s capabilities in business applications. RAGFlow v0.8.0 introduces an agent mechanism, featuring a no-code workflow editor on the front end and a comprehensive graph-based task orchestration framework on the back end. This mechanism is built on top of RAGFlow's existing RAG solutions and aims to orchestrate search technologies such as query intent classification, conversation leading, and query rewriting to:
- Provide higher retrievals and,
- Accommodate more complex scenarios.
Create an agent
Before proceeding, ensure that:
- You have properly set the LLM to use. See the guides on Configure your API key or Deploy a local LLM for more information.
- You have a knowledge base configured and the corresponding files properly parsed. See the guide on Configure a knowledge base for more information.
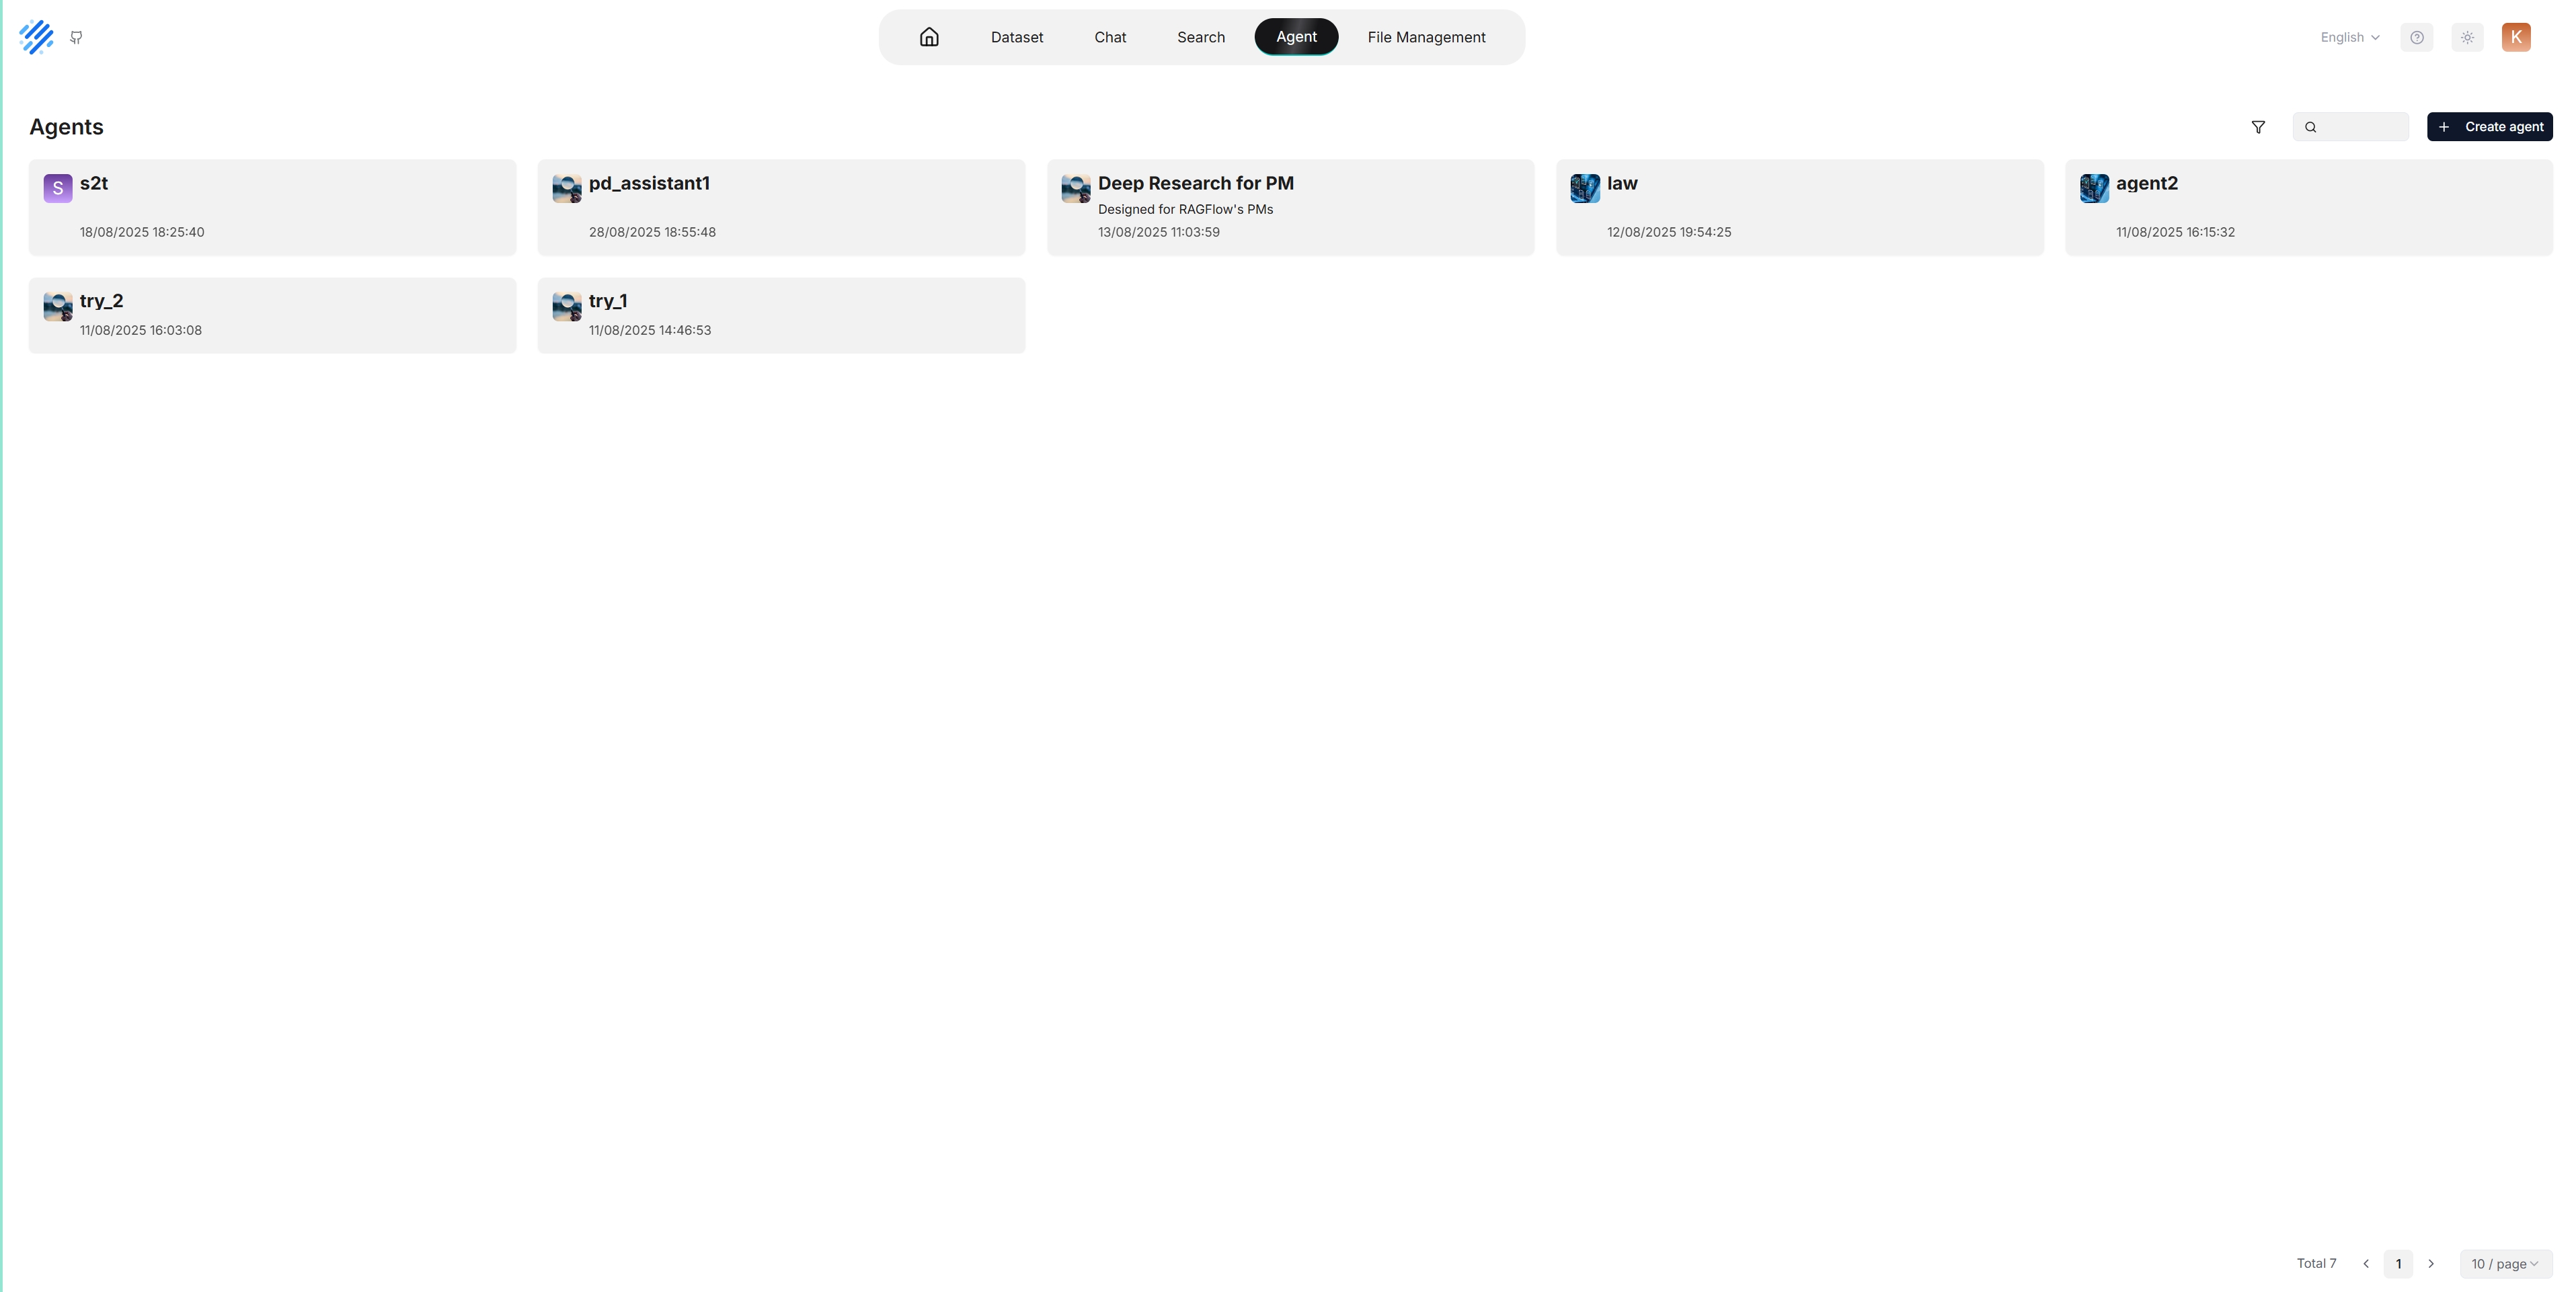
Click the Agent tab in the middle top of the page to show the Agent page. As shown in the screenshot below, the cards on this page represent the created agents, which you can continue to edit.
We also provide templates catered to different business scenarios. You can either generate your agent from one of our agent templates or create one from scratch:
-
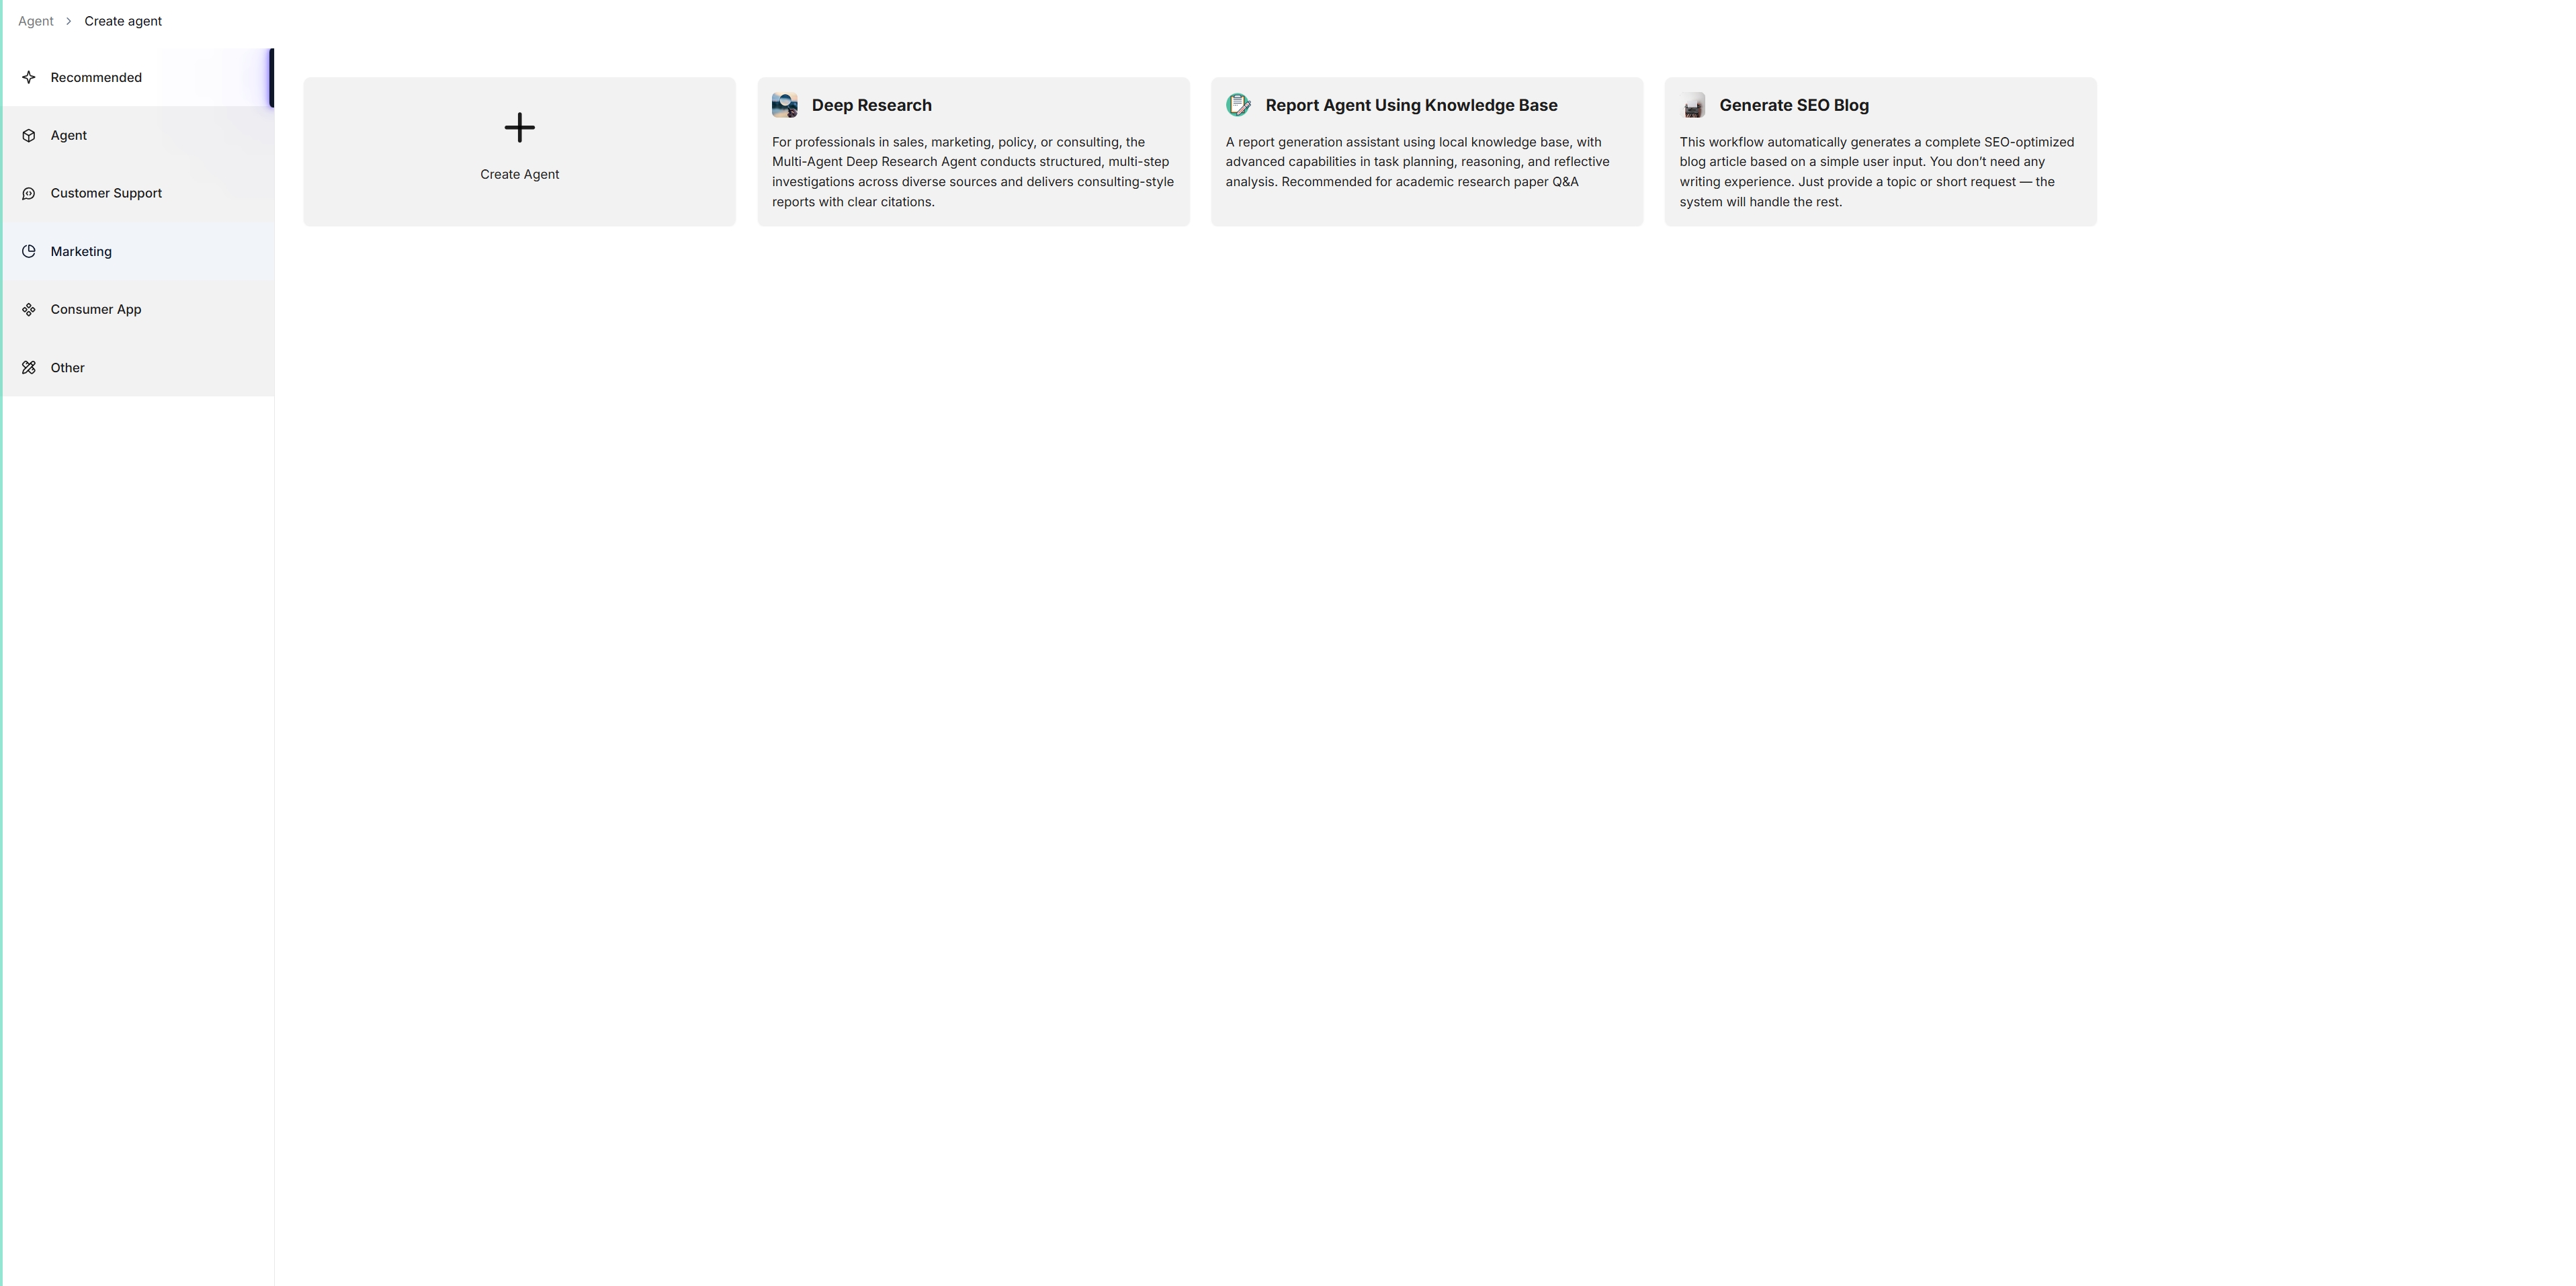
Click + Create agent to show the agent template page:
-
To create an agent from scratch, click Create Agent. Alternatively, to create an agent from one of our templates, click the desired card, such as Deep Research, name your agent in the pop-up dialogue, and click OK to confirm.
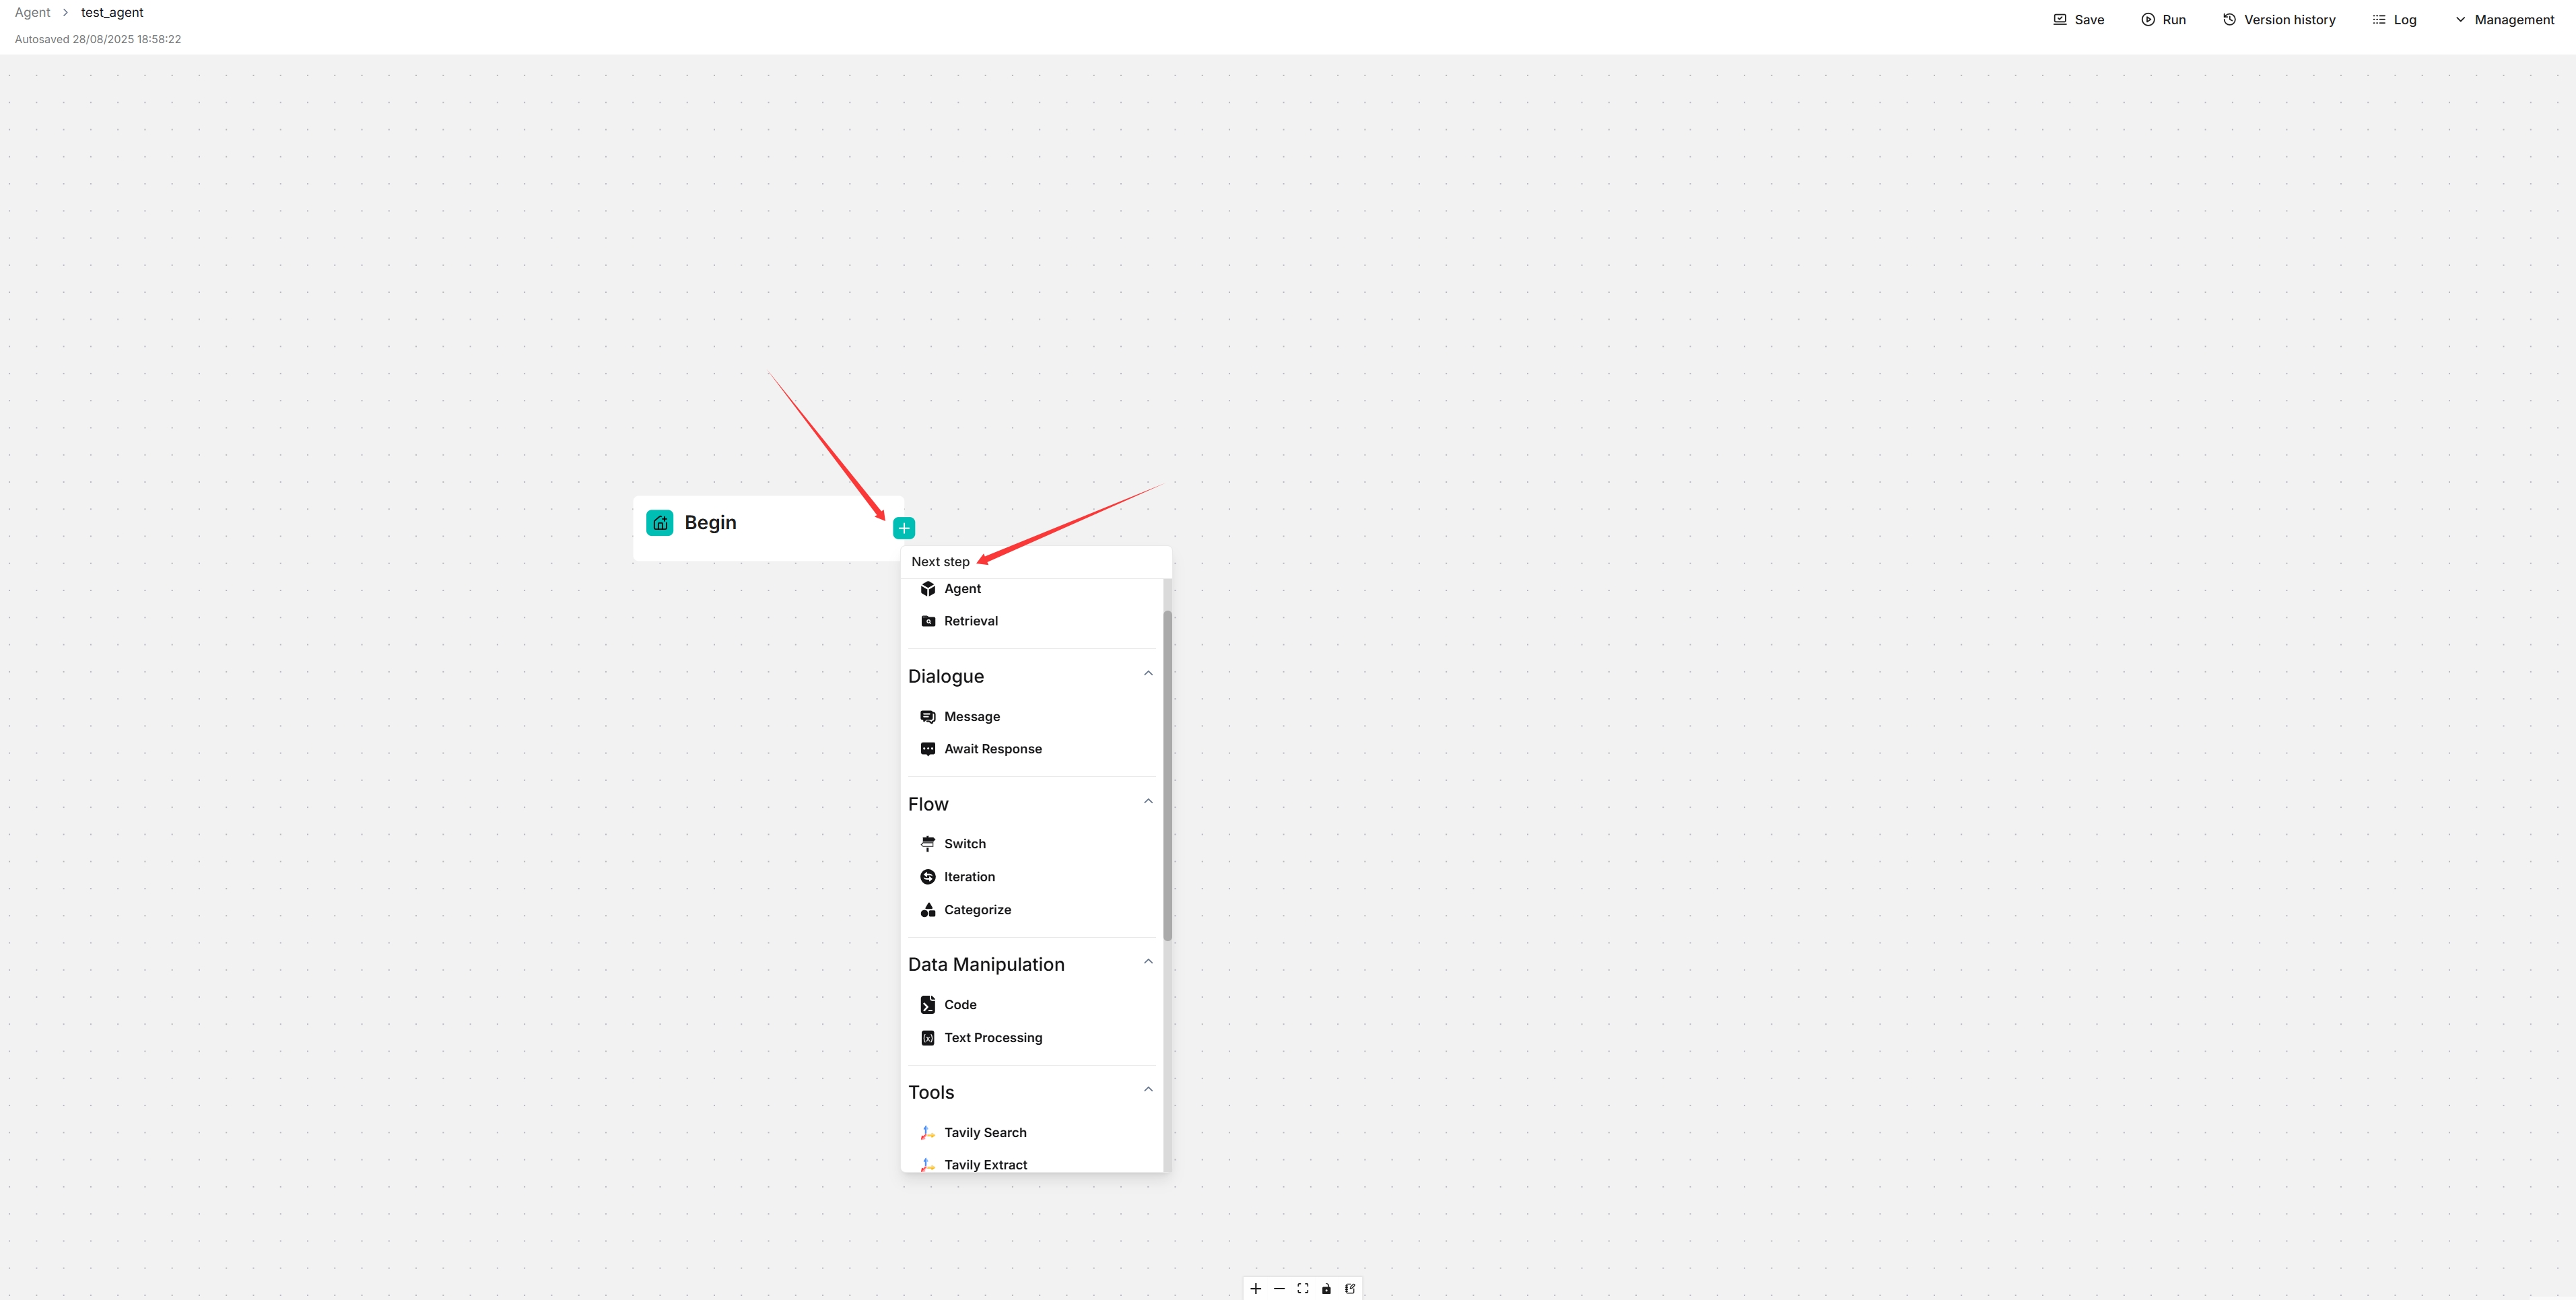
You are now taken to the no-code workflow editor page.
-
Click the + button on the Begin component to select the desired components in your workflow.
-
Click Save to apply changes to your agent.